 SolarSavings
How to Register for PM Surya Ghar Muft Bijli Yojana Online
Applying for the rooftop solar subsidy requires navigating the National Portal. Follow this verified 6-step process to ensure your application is submitted correctly without rejections.
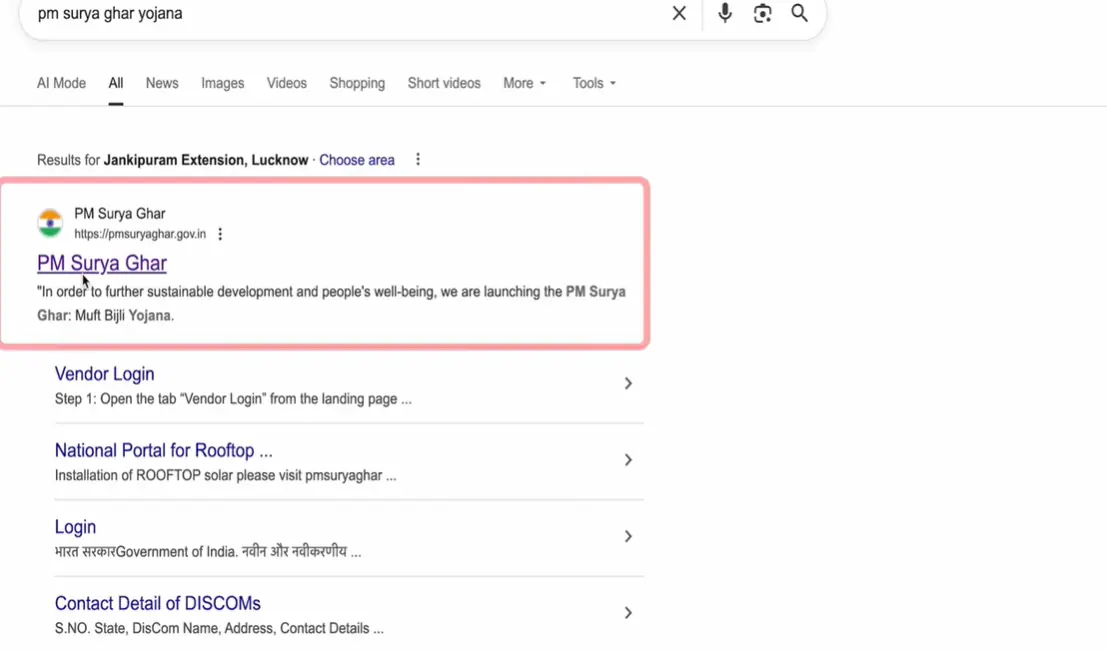
pmsuryaghar.gov.in link in your search results. Beware of fake sites that ask for a registration fee!Required Documents Before You Start
- Aadhaar Card (Linked to a mobile number for OTP verification).
- Recent Electricity Bill (Must be less than 6 months old).
- Bank Passbook / Cancelled Cheque (For Direct Benefit Transfer of the subsidy).
- A photograph of the applicant.
The 6-Step Application Process
Visit the Official Portal & Start Registration
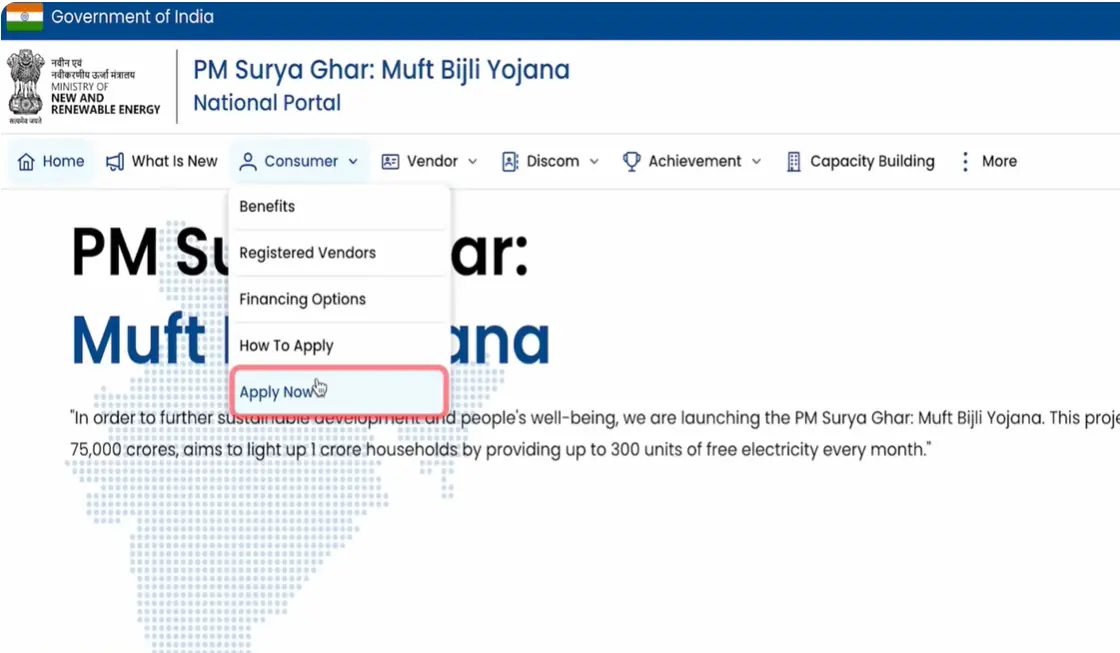
Go directly to the official National Portal: pmsuryaghar.gov.in. Click on the Register button.
DISCOM Details
Select your State and your local Electricity Distribution Company (DISCOM). Enter your Consumer Account Number exactly as it appears on your electricity bill.
Mobile & Email Verification
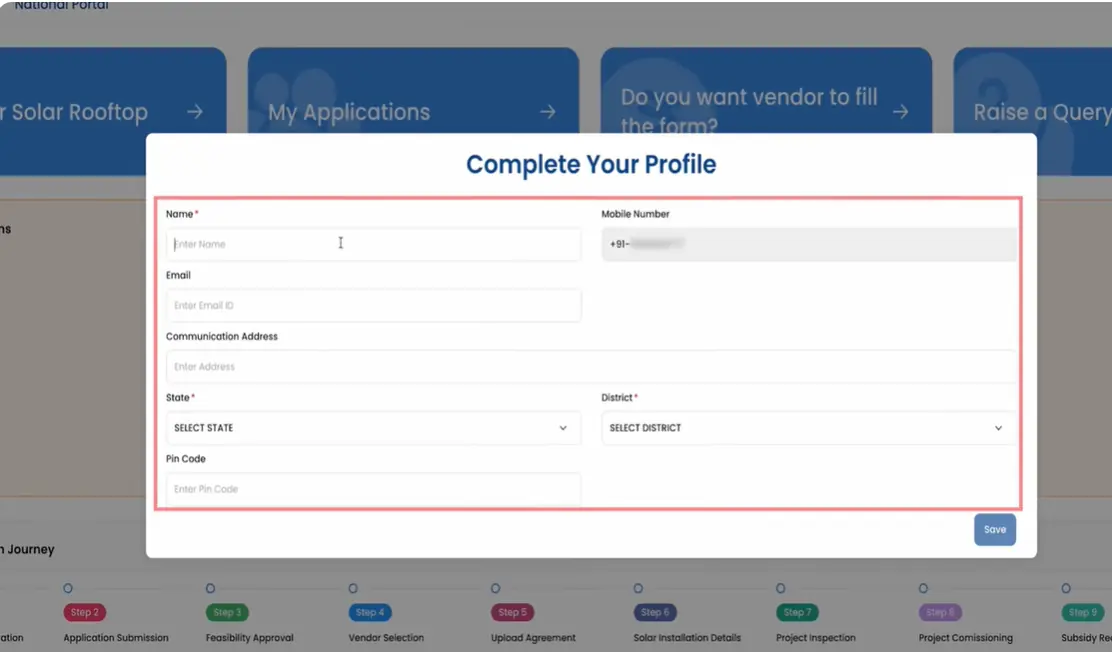
Enter your active mobile number and email address. Authenticate both using the OTP sent to you. Your mobile number will act as your primary login ID moving forward.
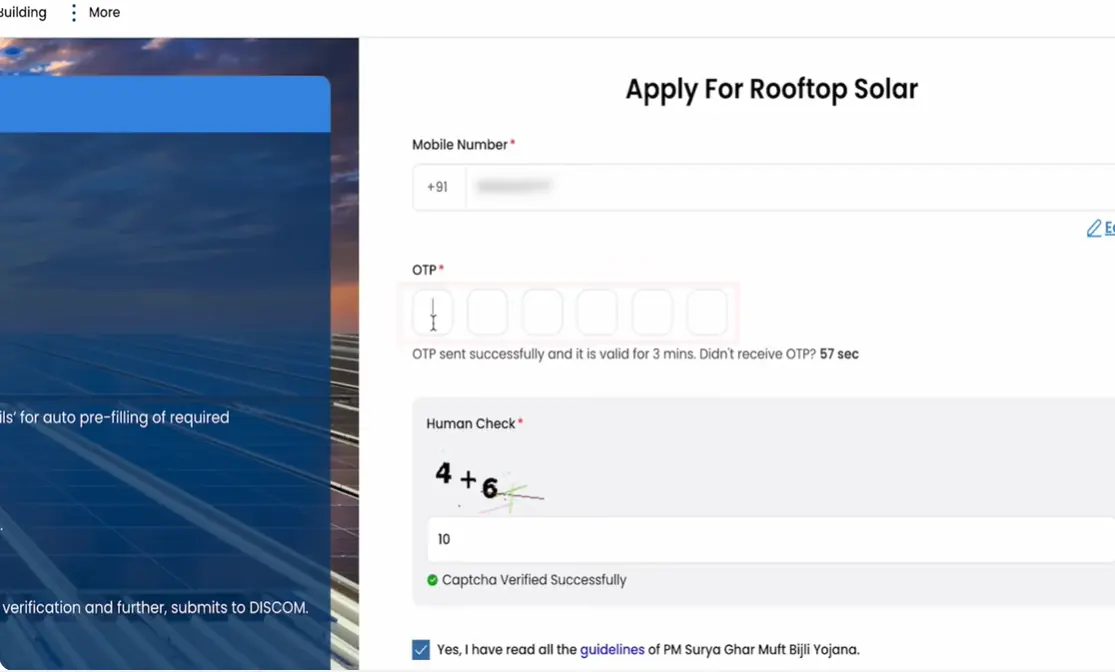
Login and Apply
Once registered, log back into the portal with your Mobile Number. Click on "Apply for Rooftop Solar".
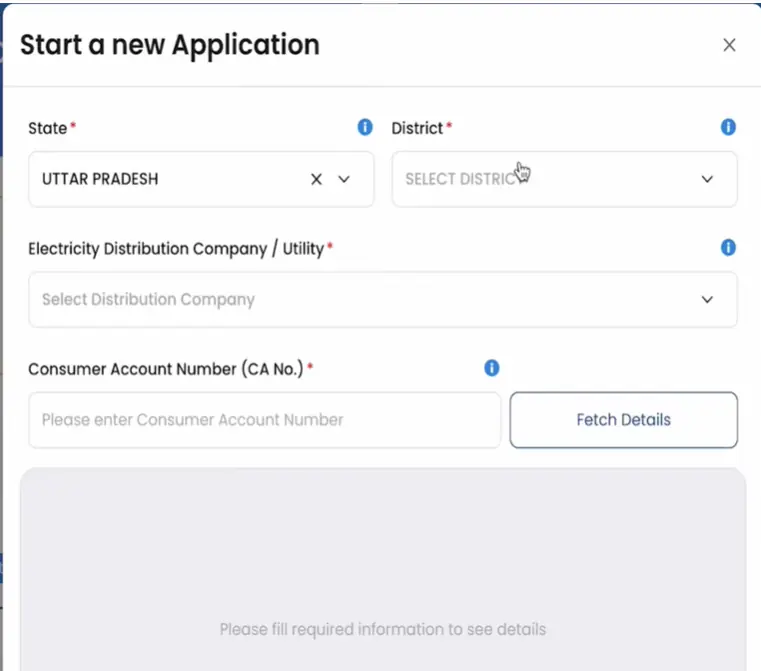
Fill the Form & Upload Documents
Enter your residential address, the proposed solar system capacity (e.g., 3 kW), and upload the scanned copies of your Electricity Bill and Aadhaar Card. Ensure the name on the bill matches your Aadhaar exactly.
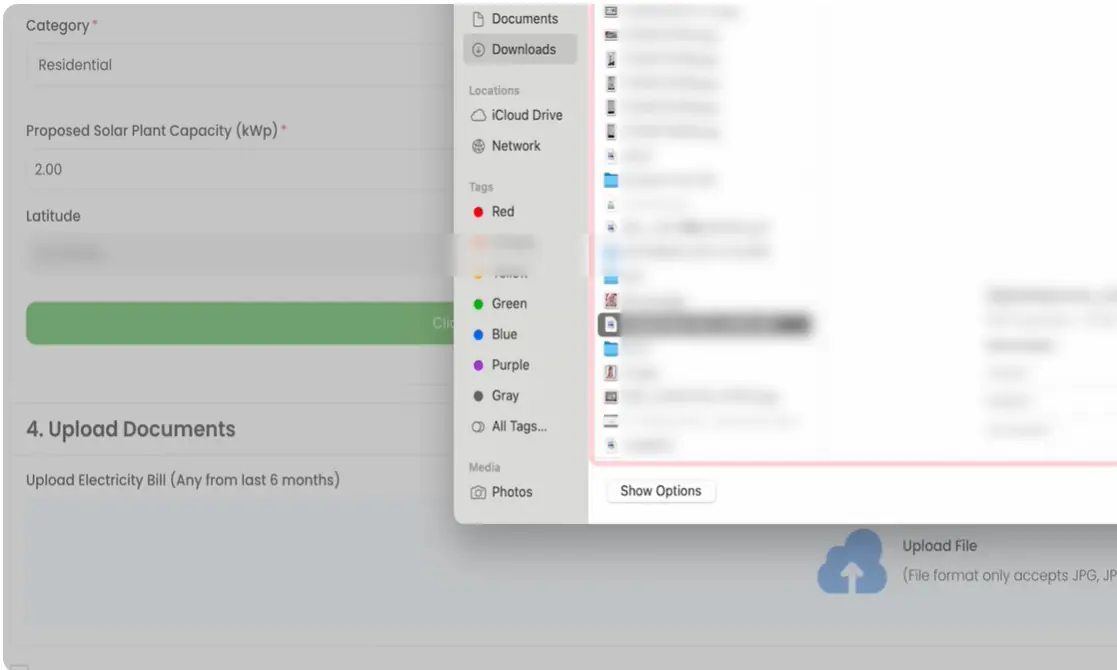
Feasibility Approval
Submit the application. It will be sent to your local DISCOM for "Technical Feasibility Approval". Once approved, you can select an empanelled vendor to begin installation.
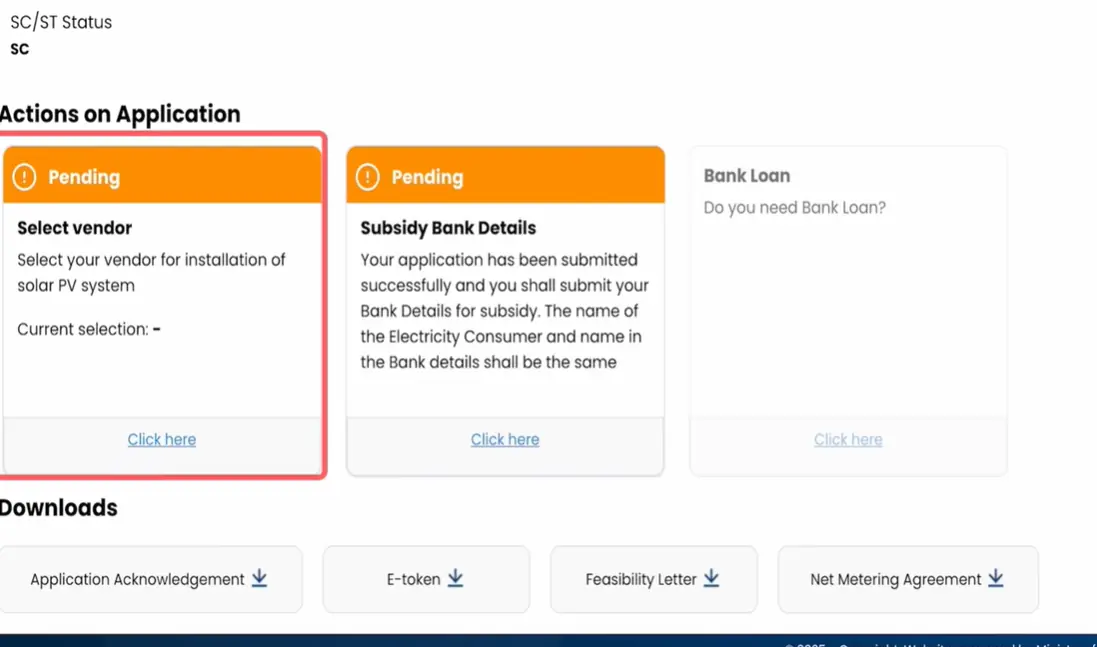
Pre-Registration Checklist: Avoid Immediate Rejection
Before you even click "Register," ensure you meet these strict criteria to prevent your application from being automatically rejected by the DISCOM:
- Exact Name Match: The name on your Aadhaar card must exactly match the name on your electricity bill. If it doesn't, you must update your electricity bill name first.
- Sanctioned Load Limits: You cannot apply for a solar system capacity larger than your current sanctioned load. If you want a 5kW system but your load is 3kW, you must apply to your DISCOM to increase your load first.
- No Arrears: Your electricity bill must be fully paid with zero outstanding arrears.
Troubleshooting Registration Failures
If your registration fails, it is usually due to one of these three database mismatch errors:
1. "Consumer Number Already Exists"
This means someone (often a previous vendor or a family member) has already registered your consumer number on the portal. You cannot create a duplicate account. You must recover the existing account using the "Forgot Mobile Number" process via your DISCOM.
2. "Invalid Consumer Number / Not Found"
DISCOM APIs occasionally fail to sync with the National Portal. If your number is valid but not recognized, try adding leading zeros (e.g., `00012345` instead of `12345`) or omitting special characters. If it still fails, you must contact your DISCOM's IT desk to force a database sync.
Frequently Asked Questions
Can I register if I am living in a rented house?
No. The PM Surya Ghar subsidy is only available to the legal owner of the property whose name appears on the electricity bill. Tenants cannot apply.
Is there a fee for registering on the portal?
No. Registration on the National Portal is 100% free. Be highly cautious of unauthorized third-party agents asking for a "registration fee."
Pre-Registration Document Verification Checklist
- Electricity Bill: Must be the latest billing receipt showing your active Consumer Account (CA) number and sanctioned load matching or exceeding your desired solar system capacity.
- Bank Account Passbook / Cancelled Cheque: The bank account must be active, seeded with your Aadhaar number, and strictly under the primary applicant's name.
- Identity & Property Ownership: Aadhaar card, voter ID, or property tax receipt verifying rooftop ownership rights.